DIY: FRAMED PEGBOARD
By SERENA APPIAH
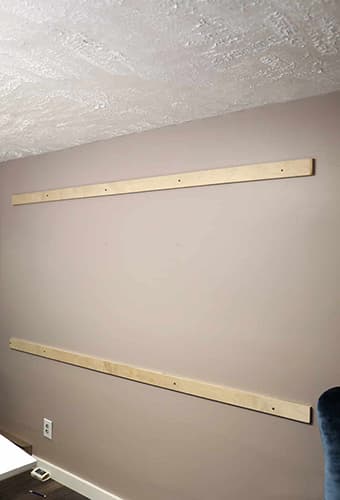
GETTING STARTED
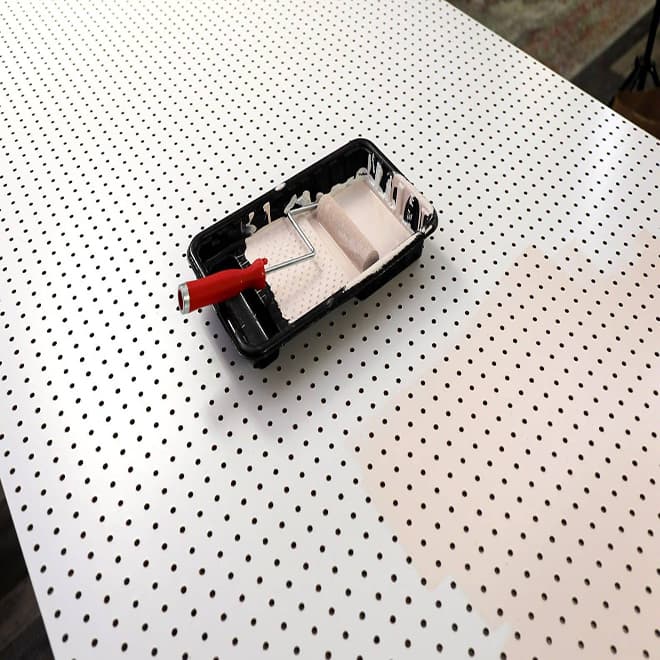
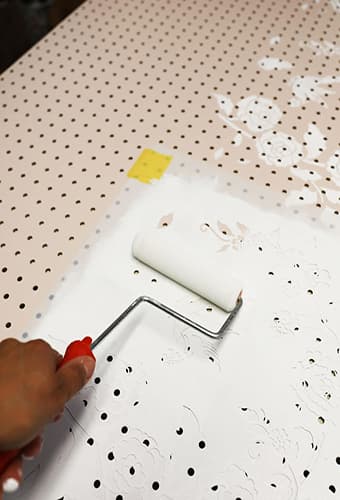
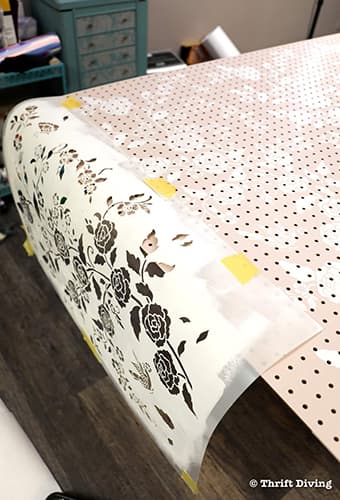
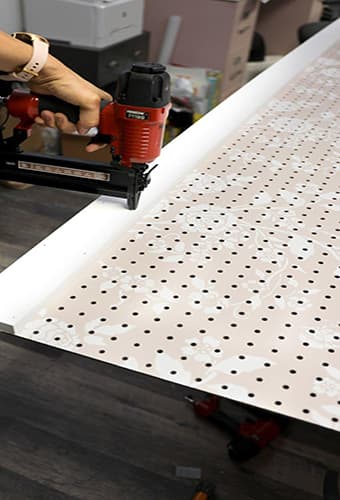
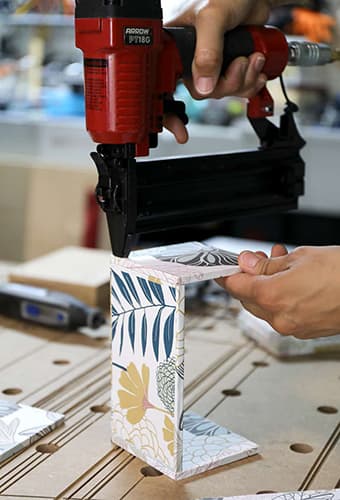
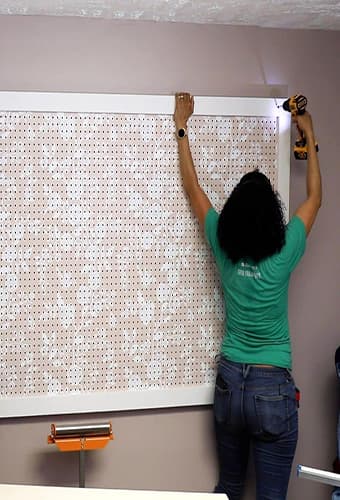
Could your workshop or craft room use a little organization? If so, this DIY framed pegboard project is for you! Equipped with custom wood organizers and adorned with stenciled patterns, your new wall will be just as pretty as it is practical. Now, choose some paint colors and stencils you love, grab your Arrow PT18G pneumatic brad nailer, and let’s get to work!
YOU WILL NEED
PT18G
Pneumatic Brad Nailer
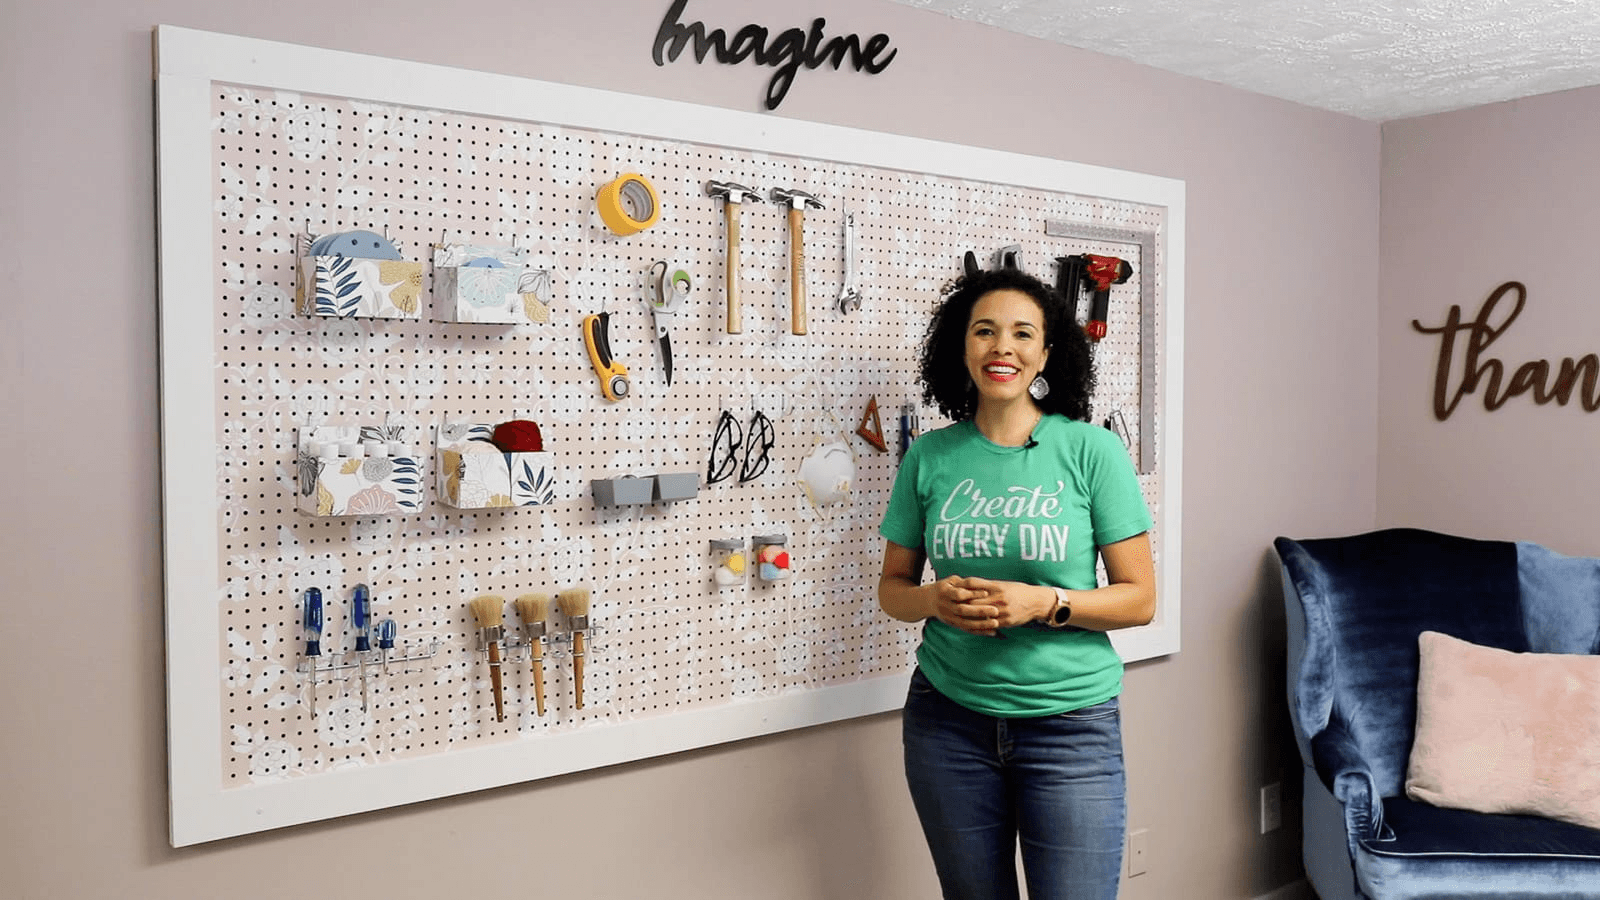
PROJECT VIDEO

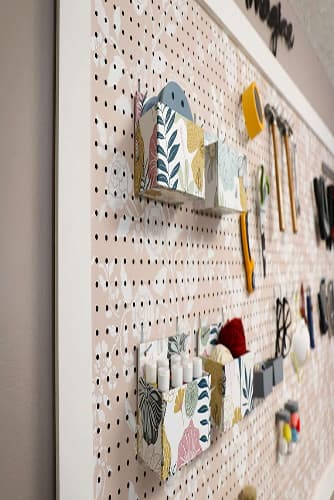
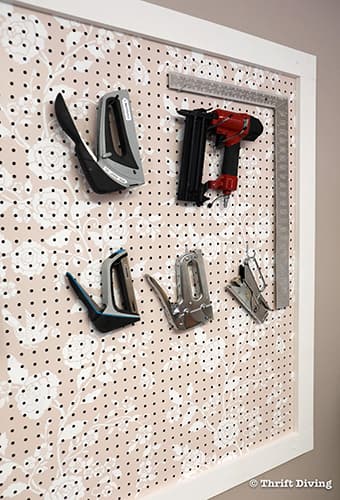
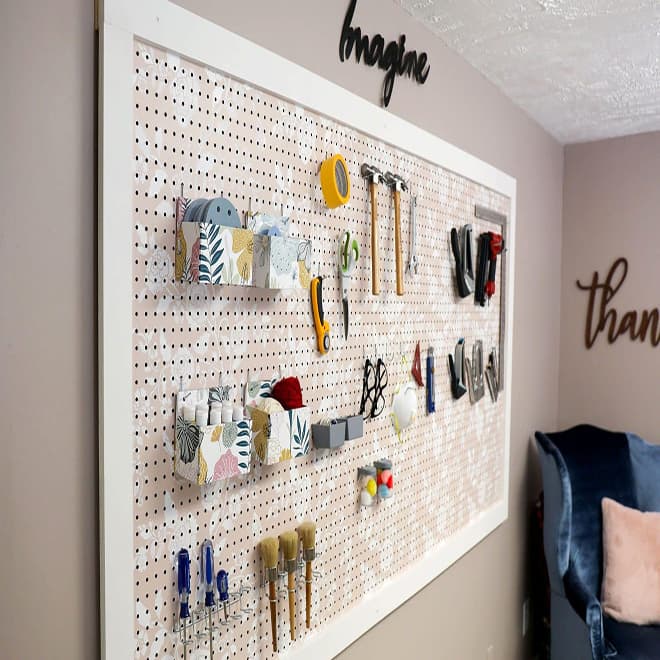
FINISHED PRODUCT
ABOUT THE AUTHOR
WANT TO BE A FEATURED ARROW BLOGGER?
.jpg&w=3840&q=75)