DIY UPCYCLE: CANE CHAIR MAKEOVER
By CHERISHED BLISS
GETTING STARTED
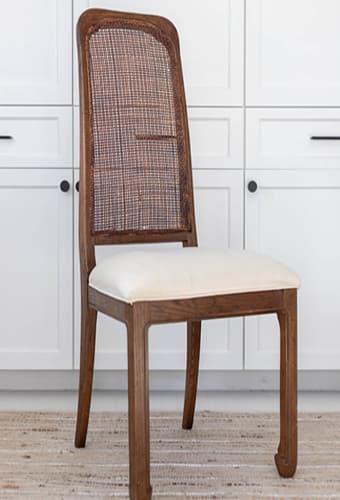
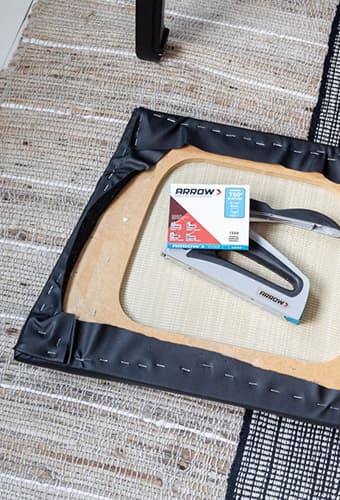
While we may be keeping holiday celebrations small this year, this project is a great way to stay busy and prepare for next year’s special gathering! To tackle this cane chair makeover, you’ll need the Arrow T50 Elite™ staple gun and brad nailer, chairs of your choice, spray paint, and some fun fabric.
YOU WILL NEED
.jpg&w=3840&q=75)
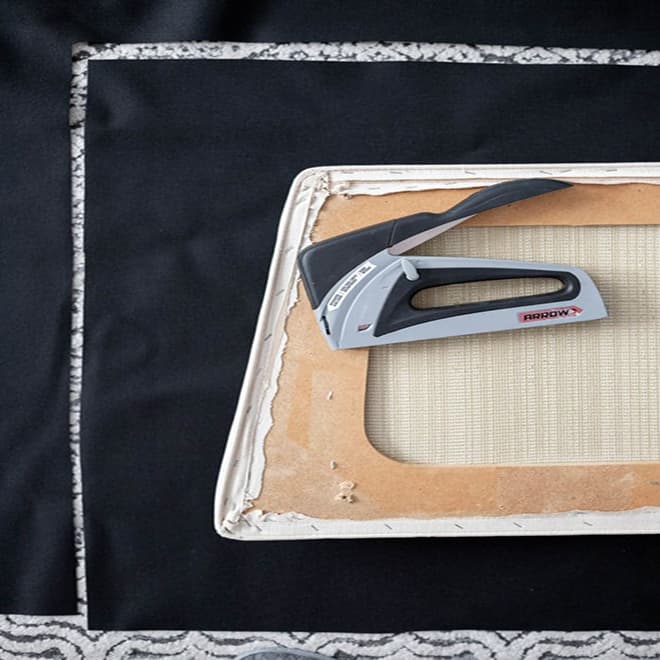
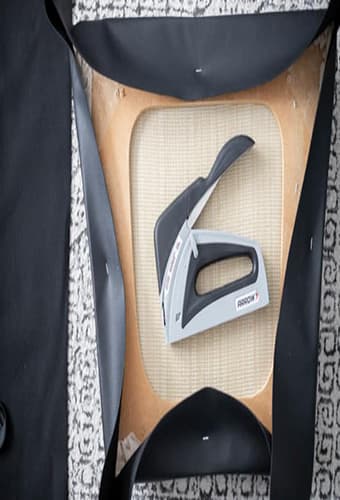
T50 ELITE
Staple Gun and Brad Nailer
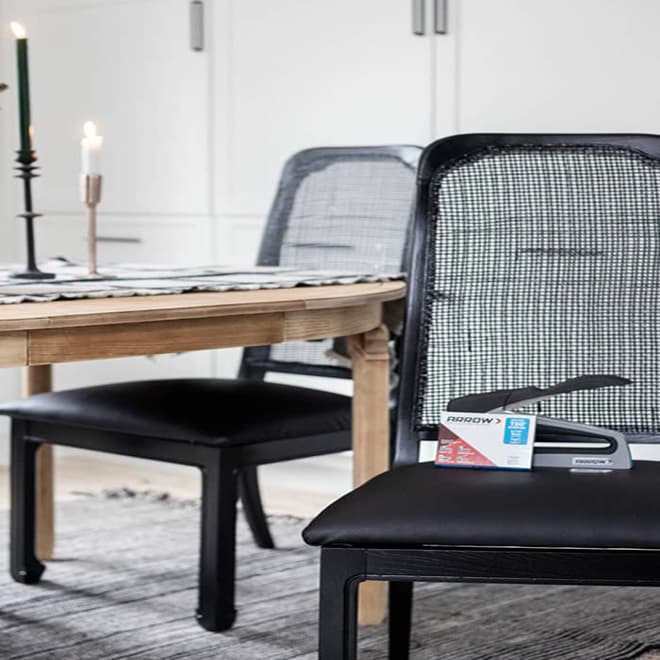
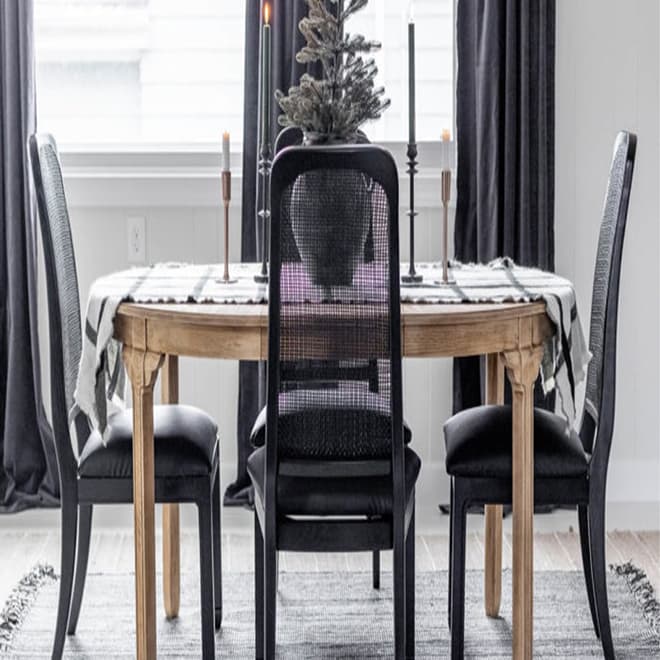
FINISHED PRODUCT
ABOUT THE AUTHOR
WANT TO BE A FEATURED ARROW BLOGGER?